Friday, February 8, 2013

Valentine's Day

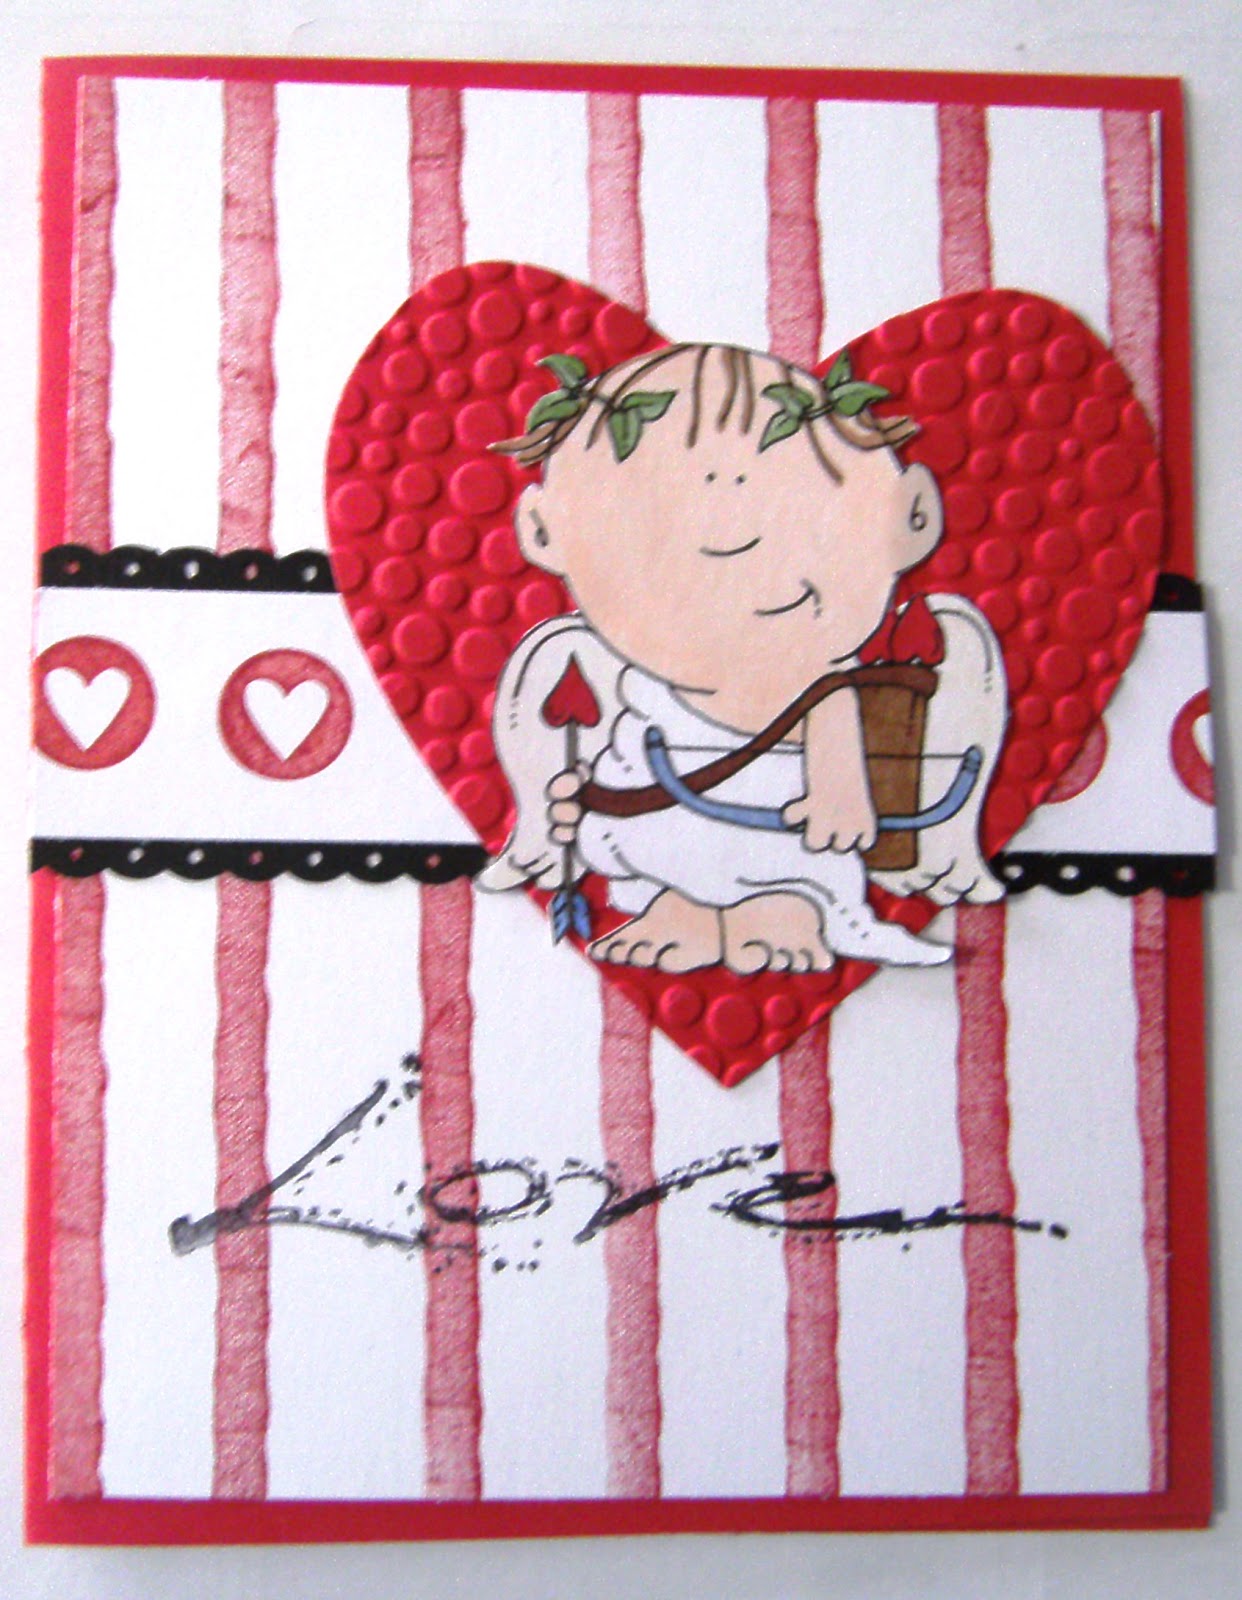
My favorite cards to make are Christmas cards and my second favorite are cards celebrating Love for Anniversaries, Valentines Day or Sweetest Day.  This is my Valentine's card that I made this year to send to my family and friends.  I'm entering it in the GoFish I Love you Challenge.


Thanks for checking out my blog.


Love is in the air...

My Valentine's cards are done and in the mail so it's time for a little quilling.  My niece is getting married in April and I promised her I'd make a bride and groom for her wedding. Knowing how anxious brides get as the wedding date approaches,  I figured I'd better get them done.  I finished them, packed them up and they are off in the mail to her (in plenty of time).  I thought I'd share them with you at Sassy Cheryl's SHOW ME Blog Challenge.You can't tell from the picture but they are approximately 2" tall and did you notice the groom is sporting a teal cumber bun.


Here's a picture from the back showing the bride's veil and her updo.  She spent many hours at the hairdresser to get that style.


Thanks for checking out my blog!


Sunday, February 3, 2013

Card within a Card

I received a handmade card from my girlfriend the other day and I had not seen this layout before, it's like a card within a card.  I really liked it so I thought I'd make one.  After checking out the card, the dimensions are really simple and easy to do.  The fun part is coordinating the colors and embellishing.  I made a few birthday cards for some friends that have February birthdays and thought  I would share some pictures of the cards I made.  There are 3 pictures per card so you can see the card closed, and the internal card open.

The card base is cut to measure 8.25 X 4" and is scored at 3"


The smaller internal card is cut to measure 8 x 3.5" and is folded in half at 4"..  The internal card is attached to the inside of the base card.  Important ->The internal card opens to the right instead of the normal opening to the left.


As you can see in this picture the base card opens to the left and the internal card opens to the right.  That's all there is to it, now you embellish it to your liking.  For this card I added a flower and rhinestone and cut a piece of designer paper for the front fold.  I used an embossing folder to emboss just the back of the base card.  The embossing made the base card kind of flimsy so I added a backing to the base card that measures 4.25 x 5.5 which allows the card to still fit in the standard A2 envelope.


The next card is also a birthday card for my dear freind who turns 91 in February.  I added a few butterflies, one to overlap the opening.  I added designer paper to the front and did not add a backing sheet.  This card is very simple and clean, not alot of embellishment.


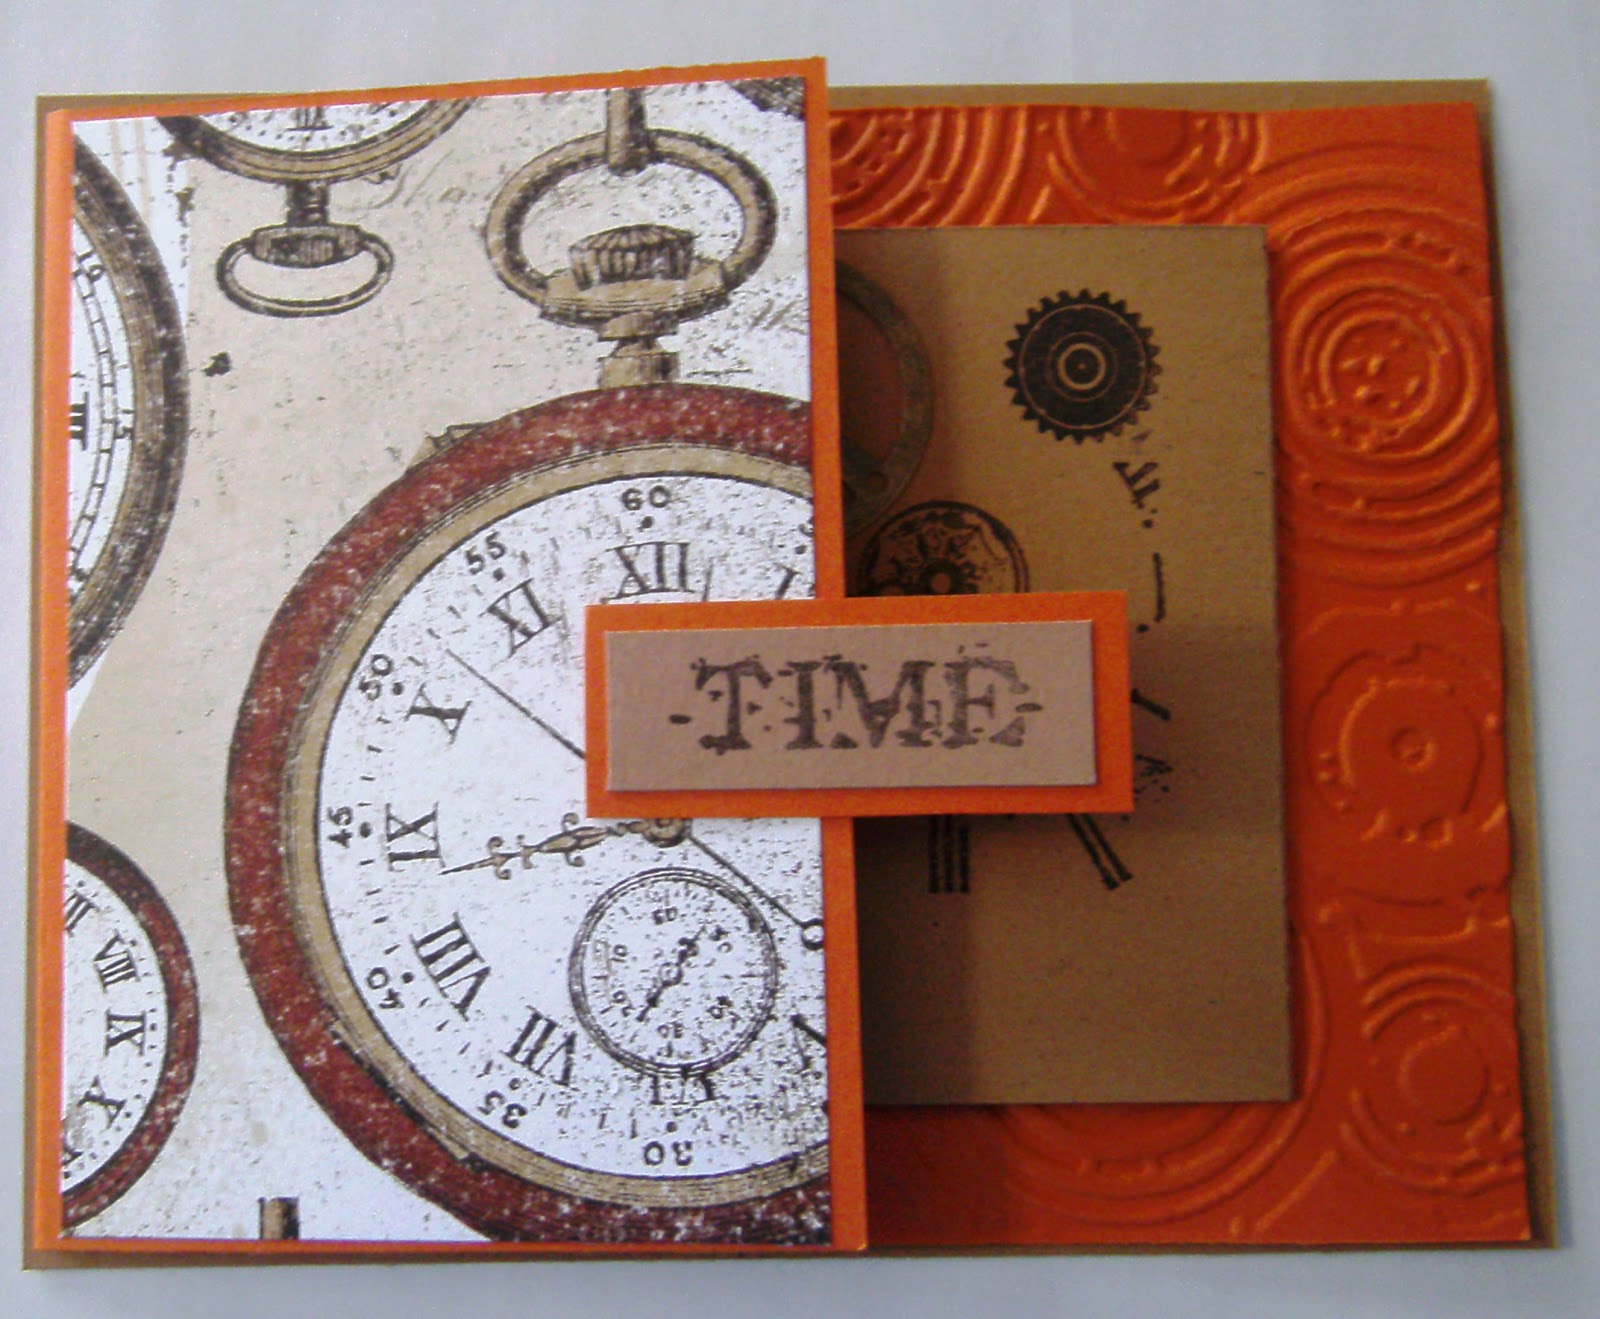
One last example, this birthday card was made for a male.  Like the butterfly, I added the work TIME to overlap the opening and added a gear on the inside card for embellishment.  Designer paper for the fold and a backing sheet.


Once you make this, you'll see how easy it is and fun to coordinate with designer paper and cardstock and fun to embellish.  Thanks for taking the time to stop by and check out my project.

Saturday, February 2, 2013

Wee Henry

I love the Wee Henry & Wee Henrietta digitals from Hambo Stamps.  This guy is called Wee Henry Cupid and and he's just perfect for Valentine's Day.  I thought I'd also use him to enter this week's Hambo Hoedown challenge.  The challenge was to follow a layout sketch.


If you think this guy's cute, you should check out the other digitals of  Wee Henry & Wee Henrietta at http://hambostamps.com/digishop/wee-henry-wee-henrietta/ .  There's a SuperBowl Sales going on so I'm heading over there now to check it out.  Thanks for stopping by.


Saturday, January 19, 2013

A Little Zentangle..


There's some days when I just want to doodle, not have anything special in mind, not worry about coloring inside the lines, or cutting images out.  After a few hours of doodling with no purpose, I just had to do something meaningful.  So I decided to Zentangle (to me this is doodling with structure).  I made this card for my best friend's daughter who is of college age and I knew would like the look.  I was going to stay with just black and white, but decided to add a little red to give it a little more pizzazz.  A little red led to alot more red and then red in the background.  I used the "Funky Double Birthday Cake" digi from http://www.sassycherylsdigis.com/.  This is a great digi for a birthday card.


It came out better than I thought it would when I started.  I think she'll like it.  You have to have patience to Zentangle, a small thing I'm usually short on.  I like the end result but it takes the fun out of doodling because  you're trying to make everything perfect.   Thanks for stopping by to check out my blog.


Monday, November 26, 2012

It's a Christmas Yard Sign

Well this week I've been working on a Christmas yard sign.  Many years ago my brother made this awesome Christmas yard sign for my Mom & stepdad's yard.  My brother is a talented illustrator and can draw anything with a computer or freehand.  I however, stamp because I can't draw.  Due to the many years in the Ohio winters, the sign was rotting and falling apart.  On Thanksgiving when my parents came for dinner they brought with them a newly painted white 4 ft by 5 ft board for me to make a new sign since my brother is the smart one and spends his life on the sunny west coast.

What a dilema, I can't draw and now I can't depend on stamping because the image has to be large enough for people driving by to actually read the sign.  After fretting about it all through Thanksgiving, I figured what's the worst that can happen, if it turned out terrible then my Mom won't ask me to do this again.  I'd be off the hook. So with that attitude I began laying out an idea I had.  With the help of the cricut I cut out their name and the christmas bulbs and the rest of the greetings I did freehand.  Freehand me, without the help of a rubber stamp!!

It turned our waayyy better than I ever expected.  I'm really happy with it and think my Mom will be too.  Actually, I even think my brother might be surprised, as he knows my lack of drawing talent.  Check it out.


Debbie

Sunday, November 18, 2012

Let's Quill

It's time I get back to posting on my blog.  I love to stamp and paper craft but I've been very lax in sharing what I've been doing. My husband bought me a quilling kit out of a bargain basement bin at an outlet mall.  He figured since it involved paper, I would like it.  He was sooo right, he usually is. I'd heard of quilling but didn't know much about it.  

   Quilling  is an art form that involves the use of paper strips that are rolled, shaped and glued together to create a decorative design.  The paper is wound around a quill to create the basic paper shape, hence the name quilling.  

Needless to say, I fell in love with it.  I started with 1 dimensional flowers and bugs, but soon found a 3 dimensional bride and groom kit which I made for my niece who recently got married.  From there I made acorns and pumpkins and mice and anything I could think of.  I tried to make a reindeer for Christmas but its head reminded me more of a turkey which gave me the idea to make a turkey.  The turkey was lonely so I made a pair of Pilgrims.  I just kept rolling and shaping until I came up with a design I liked. 


The coke can gives it  a size perspective
 I haven't given up on the reindeer, I'm still trying to figure something out.  I'm also working on a soccer player for my granddaughter.  If it turns out then I will post and share that.  I would also like to take the time to wish you all a Happy & Healthy Thanksgiving.

Debbie