Sunday, September 1, 2013

Hambo Hoedown 130 - Anything Goes

I'm back, I thought I'd take a small break from stamping for a month or so and before you know it 6 months have gone by. Even the summer flew by. I've been following alot of the blogs and seen all the great cards and projects people have been making and really missed the 3 C's - Coloring, Cutting and Creating. Kind of like the 3 R's but alot more fun. So I thought I'd start back by entering this week's Hambo Hoedown. It was the perfect challenge to get started since it is called "Anything Goes". This is an older digital from Hambo Stamps, that is one of my favorites called "Silly Birds with Hats". These birds make a fun festive Birthday card.


I hope you have a wonderful Labor Day.


Sunday, February 24, 2013

Hambo Hoedown

I love this digi and sentiments  I got this week to play at the Hambo Hoedown.  “Frog Boy” – a digital image by Hambo stamps.  The challenge this week was to add bumps or warts.  I used shiny purple gemstones to represent the warts on Frog Boy.  I paper pieced the lily pad  to give it a little pizazz instead of just coloring and I really like the way it turned out.  Not sure I've ever seen a plaid lily pad, but that's okay, I don't think there's many frogs with purple warts either.

Thanks for stopping by and checking out my blog.


Friday, February 22, 2013

A cake for your Birthday

Tomorrow is my brother's birthday and I had this idea to make him a cake.  Not a normal (lots of sugar and calories) cake, but a paper cake.  So I pulled out my quilling paper and tried to make a cake, candles and all.  Well, it was just a cake, not very festive.  So I added some presents but it still needed more festivity for a birthday.   Balloons, they are festive, so I quilled some balloons (first time making balloons).  I consider these a prototype and will make some changes to any future balloons.  Now I needed to pull all these items together so I made a small tablecloth and glued everything to it. 

I am really happy with the outcome that just started out with an idea that I wanted to make him a cake.  Even the candles and flames are paper (I used tissue paper for the flames).  So I packed this up in a small box with Styrofoam peanuts and sent it across the US from Ohio to California.  Hopefully the USPS was gentle and it made it to CA without needing any repair.


Happy Birthday James!


Thanks for checking out my blog.

Monday, February 18, 2013

Clean & Simple Challenge

CAS - Clean and Simple, that is this week's challenge over at the Hambo Hoedown.  For playing along in last week's challenge, I received this week's digi  "Microphone - digital image by Hambo Stamps" with some sentiments to use.  It's funny because when I make cards, I usually don't embellish them with a lot of doodads or ribbons and flowers.  For this challenge because is was clean and simple, I could find all kinds of things to embellish this with. Go figure.


I used the Spellbinders Wonky Triangle dies and then embossed them with the Sizzix "Dots" embossing folder.  I used pop dots to adhere the white panel with the microphone to the card thinking it would add dimension but in the picture it makes it look like the panel isn't glued down very well.  Thanks for checking out my blog.  I'm finishing up a quilling project that I will be posting next, so please stop back!!

Sunday, February 10, 2013

Bailey Rocks

This is a quick post, Sunday night and don't want to miss the Grammy's.  I'm entering this week's challenge at the Hambo Hoedown with the digi called "Bailey Rocks".  The  challenge is to add metal. There's so many great digis at Hambo Stamps, if you haven't seen them then you've got to check them out. 


Thanks for checking out my blog.

Friday, February 8, 2013

Valentine's Day

My favorite cards to make are Christmas cards and my second favorite are cards celebrating Love for Anniversaries, Valentines Day or Sweetest Day.  This is my Valentine's card that I made this year to send to my family and friends.  I'm entering it in the GoFish I Love you Challenge.


Thanks for checking out my blog.


Love is in the air...

My Valentine's cards are done and in the mail so it's time for a little quilling.  My niece is getting married in April and I promised her I'd make a bride and groom for her wedding. Knowing how anxious brides get as the wedding date approaches,  I figured I'd better get them done.  I finished them, packed them up and they are off in the mail to her (in plenty of time).  I thought I'd share them with you at Sassy Cheryl's SHOW ME Blog Challenge.You can't tell from the picture but they are approximately 2" tall and did you notice the groom is sporting a teal cumber bun.


Here's a picture from the back showing the bride's veil and her updo.  She spent many hours at the hairdresser to get that style.


Thanks for checking out my blog!


Sunday, February 3, 2013

Card within a Card

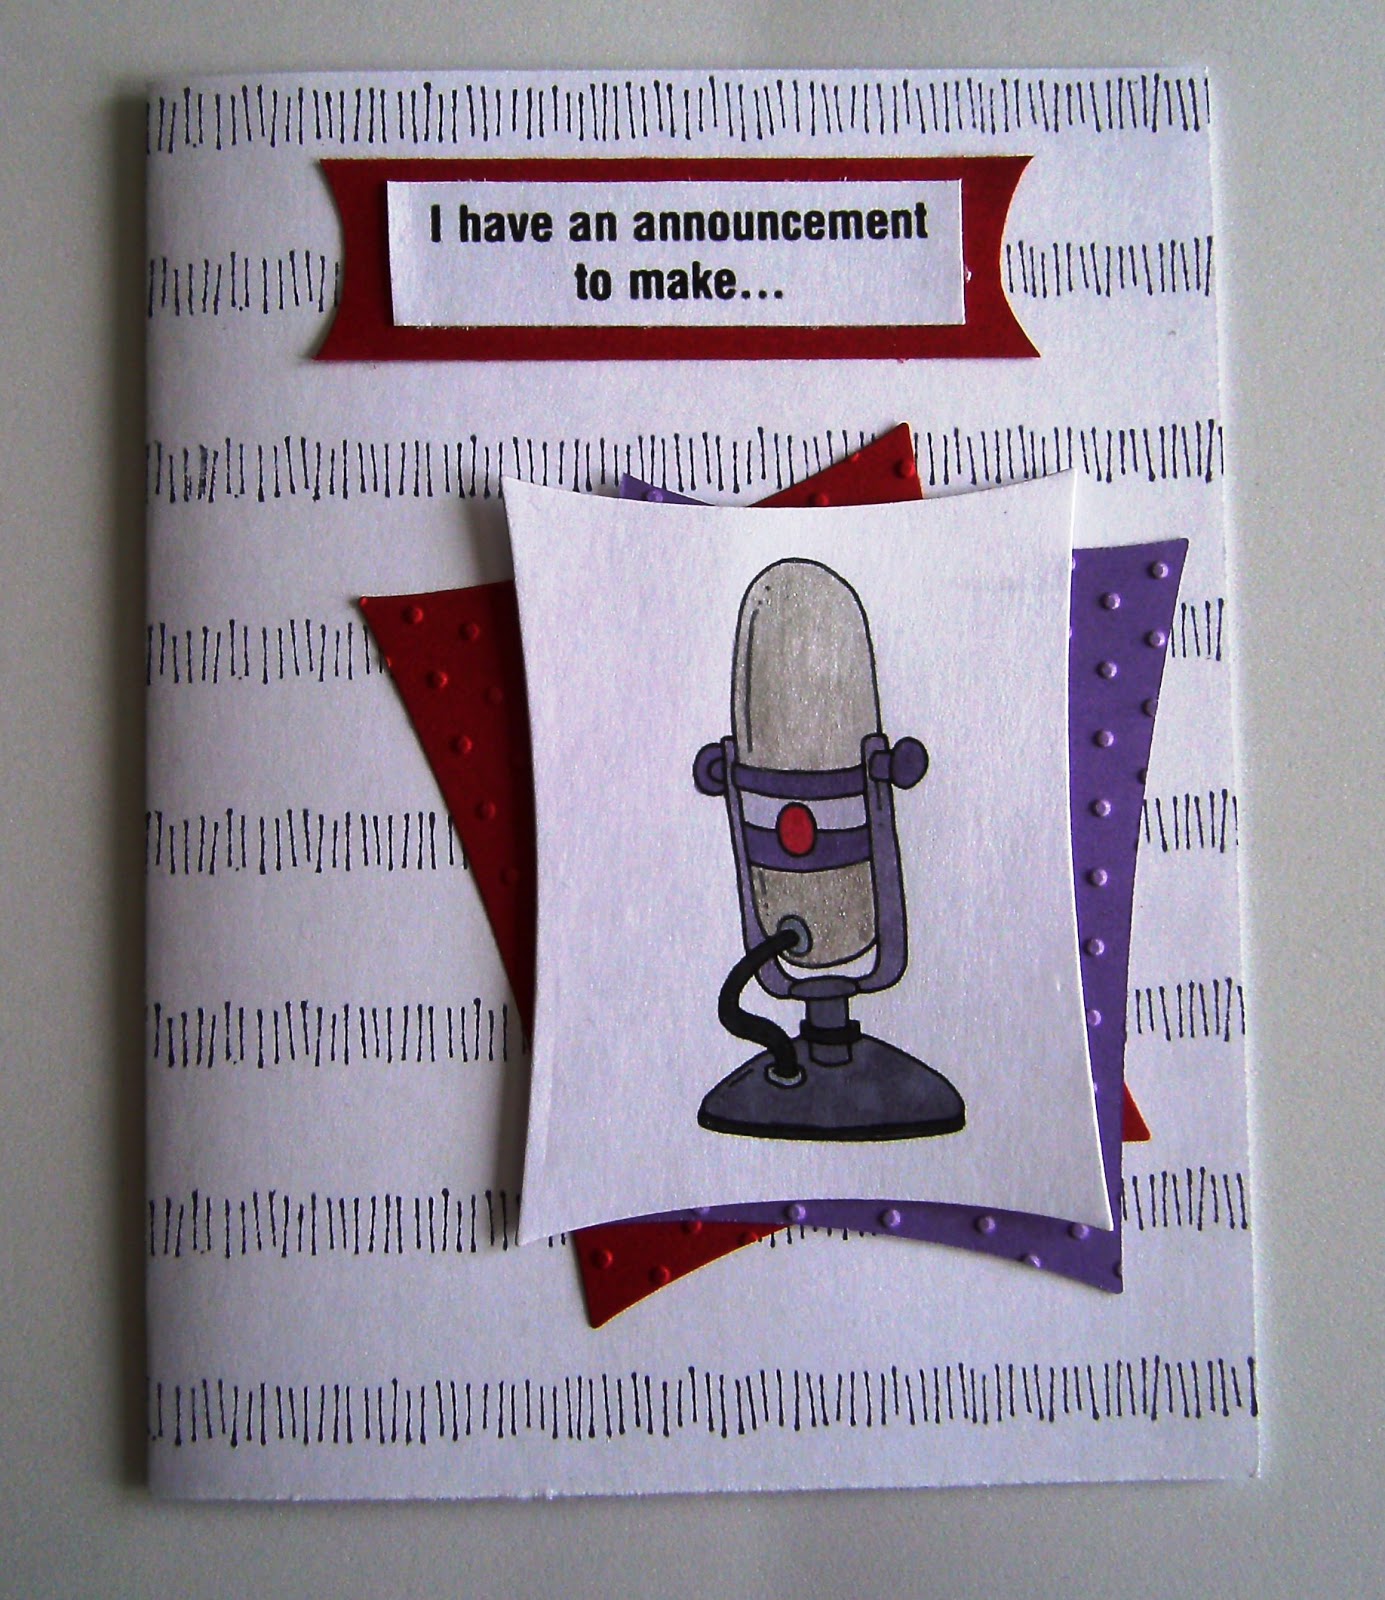
I received a handmade card from my girlfriend the other day and I had not seen this layout before, it's like a card within a card.  I really liked it so I thought I'd make one.  After checking out the card, the dimensions are really simple and easy to do.  The fun part is coordinating the colors and embellishing.  I made a few birthday cards for some friends that have February birthdays and thought  I would share some pictures of the cards I made.  There are 3 pictures per card so you can see the card closed, and the internal card open.

The card base is cut to measure 8.25 X 4" and is scored at 3"


The smaller internal card is cut to measure 8 x 3.5" and is folded in half at 4"..  The internal card is attached to the inside of the base card.  Important ->The internal card opens to the right instead of the normal opening to the left.


As you can see in this picture the base card opens to the left and the internal card opens to the right.  That's all there is to it, now you embellish it to your liking.  For this card I added a flower and rhinestone and cut a piece of designer paper for the front fold.  I used an embossing folder to emboss just the back of the base card.  The embossing made the base card kind of flimsy so I added a backing to the base card that measures 4.25 x 5.5 which allows the card to still fit in the standard A2 envelope.


The next card is also a birthday card for my dear freind who turns 91 in February.  I added a few butterflies, one to overlap the opening.  I added designer paper to the front and did not add a backing sheet.  This card is very simple and clean, not alot of embellishment.


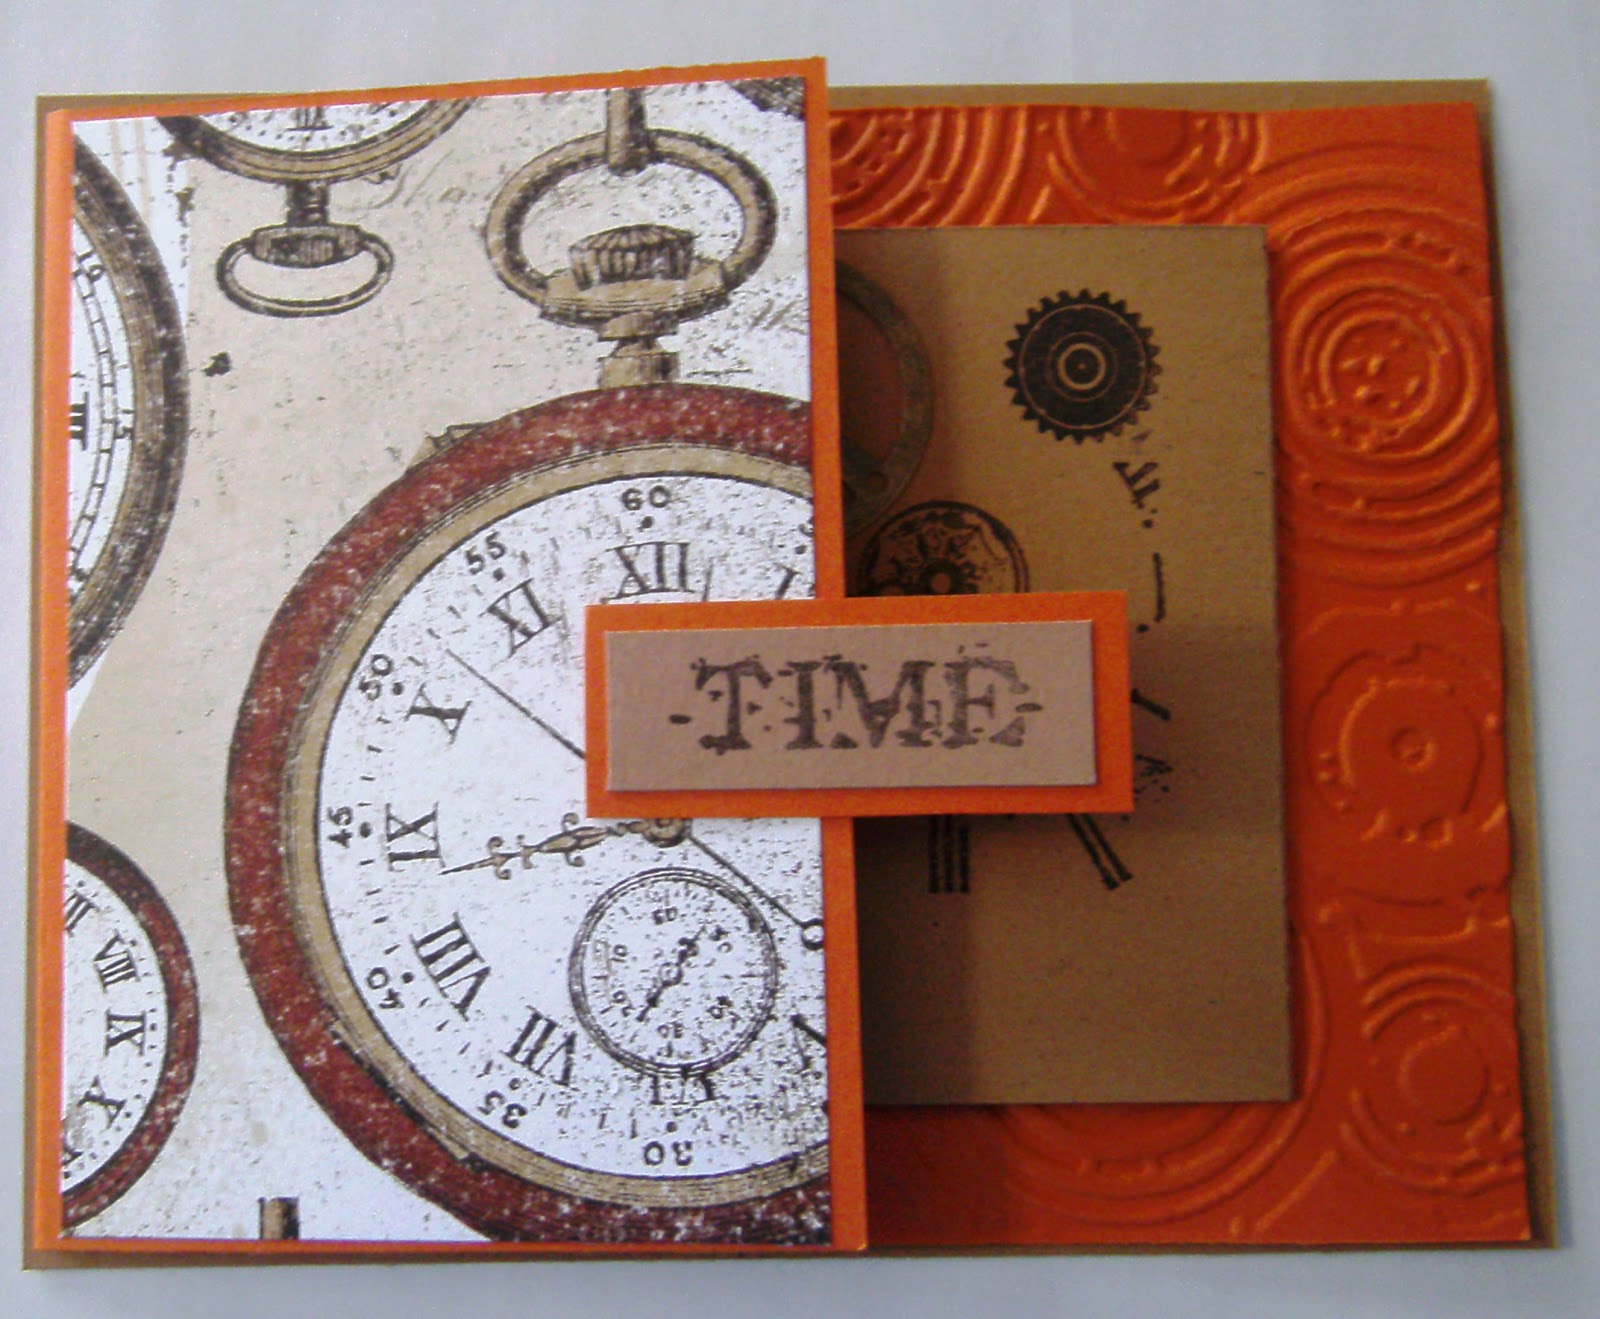
One last example, this birthday card was made for a male.  Like the butterfly, I added the work TIME to overlap the opening and added a gear on the inside card for embellishment.  Designer paper for the fold and a backing sheet.


Once you make this, you'll see how easy it is and fun to coordinate with designer paper and cardstock and fun to embellish.  Thanks for taking the time to stop by and check out my project.

Saturday, February 2, 2013

Wee Henry

I love the Wee Henry & Wee Henrietta digitals from Hambo Stamps.  This guy is called Wee Henry Cupid and and he's just perfect for Valentine's Day.  I thought I'd also use him to enter this week's Hambo Hoedown challenge.  The challenge was to follow a layout sketch.


If you think this guy's cute, you should check out the other digitals of  Wee Henry & Wee Henrietta at http://hambostamps.com/digishop/wee-henry-wee-henrietta/ .  There's a SuperBowl Sales going on so I'm heading over there now to check it out.  Thanks for stopping by.


Saturday, January 19, 2013

A Little Zentangle..


There's some days when I just want to doodle, not have anything special in mind, not worry about coloring inside the lines, or cutting images out.  After a few hours of doodling with no purpose, I just had to do something meaningful.  So I decided to Zentangle (to me this is doodling with structure).  I made this card for my best friend's daughter who is of college age and I knew would like the look.  I was going to stay with just black and white, but decided to add a little red to give it a little more pizzazz.  A little red led to alot more red and then red in the background.  I used the "Funky Double Birthday Cake" digi from http://www.sassycherylsdigis.com/.  This is a great digi for a birthday card.


It came out better than I thought it would when I started.  I think she'll like it.  You have to have patience to Zentangle, a small thing I'm usually short on.  I like the end result but it takes the fun out of doodling because  you're trying to make everything perfect.   Thanks for stopping by to check out my blog.